Lost Temple of the Ancients Quest: Difference between revisions
No edit summary |
No edit summary |
||
| Line 17: | Line 17: | ||
== Location == | == Location == | ||
North-west in the [[Behemoth|Behemoth]] spawn in [[Jungle]], [ | North-west in the [[Behemoth|Behemoth]] spawn in [[Jungle]], [https://grimhaven.net/map_viewer/#zoom,17,position,30981,30941,11 here] | ||
== Dangers == | == Dangers == | ||
Revision as of 16:36, 27 September 2024
Legends
The Lost Temple of the Ancients is a mysterious and foreboding place, hidden deep within the dense jungles of an ancient land. Once a grand and majestic temple, it now lies in ruins, a shadow of its former glory. The temple was built by a long-forgotten civilization, a highly advanced and enigmatic people who worshipped powerful and unknown gods.
Over the centuries, the temple fell into disrepair and was eventually abandoned, left to the mercy of time and nature. But the spirits of the ancient people still linger within its crumbling walls, trapped in a state of limbo between life and death. These restless spirits now roam the temple grounds as undead creatures, guarding their sacred home from intruders.
Despite its eerie and dangerous reputation, the Lost Temple of the Ancients is said to hold great treasures and powerful artifacts within its depths. Many adventurers and treasure hunters have attempted to plunder its riches, but few have returned to tell the tale.
Location
North-west in the Behemoth spawn in Jungle, here
Dangers
On the way to the Quest you will face monsters such as Hydra, Bonelord, Bog Raider, Behemoth. The quest only involves Grim Reaper, Blightwalker, Lost Soul, Dark Torturer, Betrayed Wraith, Juggernaut, Spectre, Phantasm, Defiler, Plaguesmith, Hand of Cursed Fate, Nighthawk Reaper, Damned Shadowsoul, Death Knight, Unholy Skullcrusher, Serpentis Venomfang, Valthar Crawler, Lyanna Nightshade and Cursed Malakai.
Rewards
One out of six available items:
And:
- 4,000,000 Experience Points
- Ancient Artifact (deco item)
- Skull Backpack (Vol:25)
- 200 Magical Dusts
- 100 Grimhaven Tokens
- 2 Gold Nuggets
- Cranium Spider Doll (mount)
Overview
Lost Temple of the Ancients Quest is a high-level quest in Tibia, designed for a big team of players, each at least level 200. The quest is notorious for its difficulty and is considered a rite of passage for top-level players seeking to earn exclusive rewards.
Requirements
- Minimum level of 200.
- Soul Shatter Skull
- Shadow Elixir
- Shadow Orb
- Morning Star
- Vial
- Rat's Bane Brew
(All items obtained in the quest)
Preparation
Prepare by bringing alot of supplies and a good team. High-level healing runes and potions are essential.
Walkthrough
Getting There
Find The Old Wanderer, he is located in the x roads in Thais, speak with him and begin the quest.
Then travel to the Jungle and find the cave to the behemoth spawn, here
You can find the entrance to the quest to the north west in the spawn
In the beginning of the quest you will find a magic door.
To gain access to it you must use Soul Shatter Skull on a skull statue.
You can find the Soul Shatter Skull in the coffin.

The skull statue is located down the stairs to the north east from the coffin.
Use the Soul Shatter Skull on it then head back to the magic door.

To gain access through the next magic door, you will have to step on this tile.
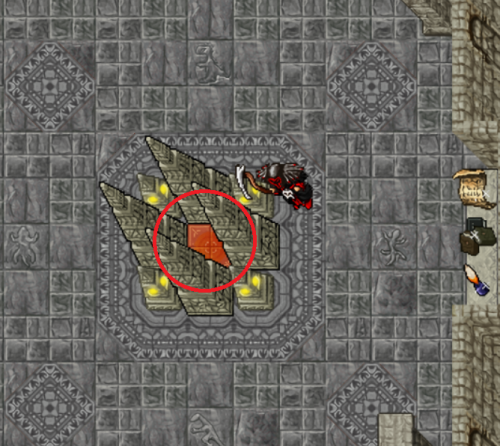
When you get to this room, loot he coffin and you will find Shadow Elixir.

To gain access through this magic door you will have to use the Shadow Elixir on a enchanted fire pit.
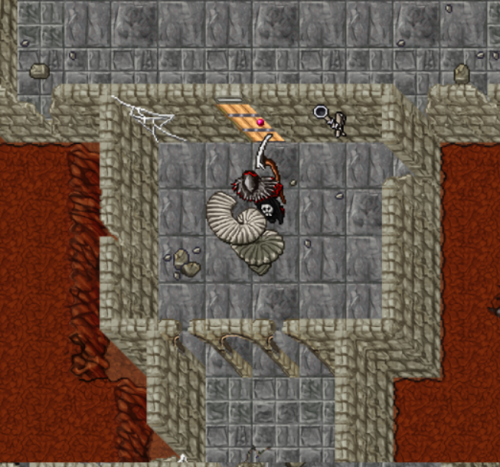
Once you have found the enchant fire pit, use the Shadow Elixir on it and head back to the magic door.
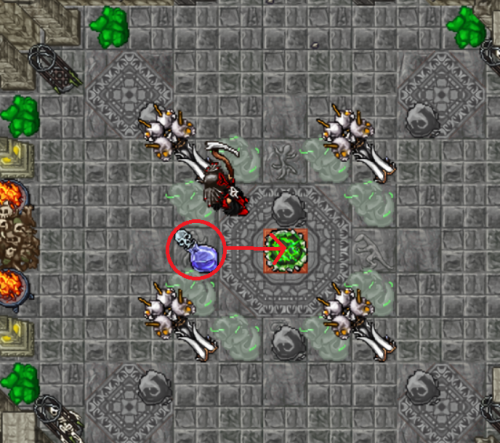
To remove this wall you will have to pull this lever.
The lever can be found in a small cave half way to the enchanted fire pit, on the right side.
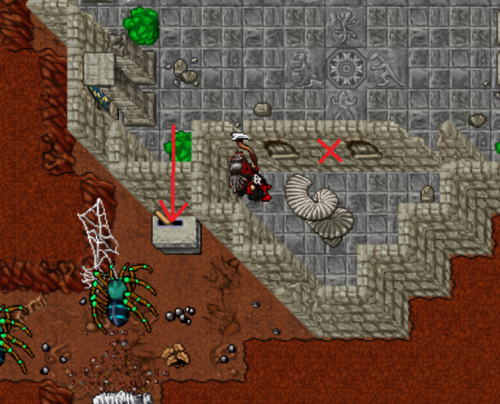
Here you will have to find the right lever combination.
Pulling one lever also pulls another one.
Once you have found the right combination a glowing tile will appear, walk on it to gain access through the next magic door.
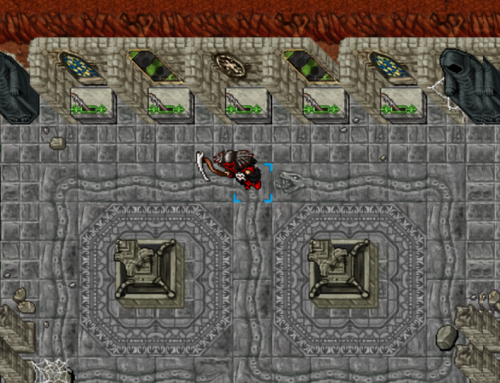
This is the door you gain access to after completing the lever puzzle.

To gain access through this magic door you will have to kill the boss Serpentis Venomfang, wich can be found down the stairs.
When the boss is defeated a glowing tile will appear, walk on it to gain access through the door.
Walking through the door to the left also grants you the first checkpoint in the quest.
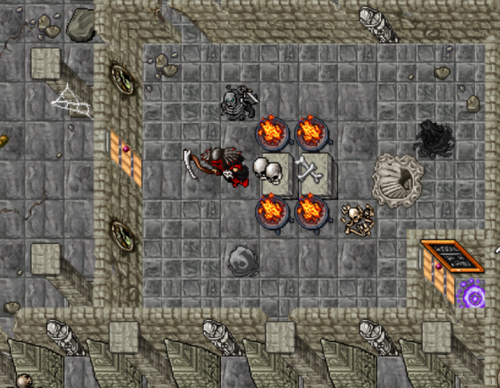
Pull this lever to remove a wall to the south west in the room.

Use this torch to remove another wall.

When you have reached this room you have to find 4 other rooms.
In each of the rooms there is a glowing tile, you have to stand it for 60 seconds, to break the seal.
When standing on the glowing tiles monsters will spawn but can't be killed you just have to endure it.
Each time a seal is broken a statue will glow up in the middle room, indicating that it's completed.
When all four seals are broken, and all statues glows a teleport will spawn between the stairs in the middle room.

After completing the endurance test, you will gained the second checkpoint in the quest.

Here you will have to find the right teleport, only one is right.
The other four teleports will send you to a dungeon that have to be cleared to try another teleport.
When entering the right teleport you will come to the second boss Valthar Crawler

After defeating the boss you will gain the third checkpoint in the quest.
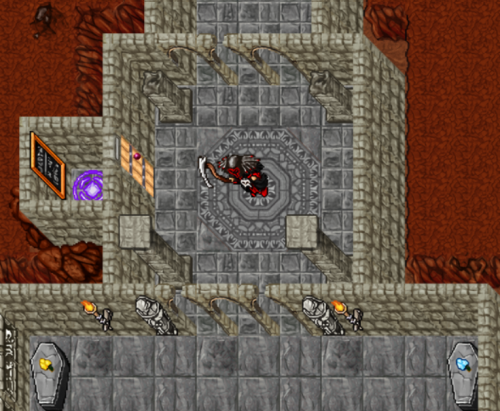
In this room you have to walk on the 5 tiles in a specific order to get to the next part of the quest.
Each player can walk on the wrong tiles 3 times, after that you will be sent to a dungeon that needs to be cleared to try again.
Beware that the four skull statues in the room will attack you while in the room, these statues can't be killed.

The next step is to get through these yellow magic walls, wich can be done with a Shadow Orb.
The Shadow Orb can be found if you walk back to the south west from the magic walls.

To gain access to the room where the Shadow Orb can be found, you will have to pull this lever.

Loot this chest and you will find the Shadow Orb
Then head back and use it on the yellow magic walls.

Once past the yellow magic walls you will find a teleport.
Walking through it will spawn monsters that need to be slain to get out.
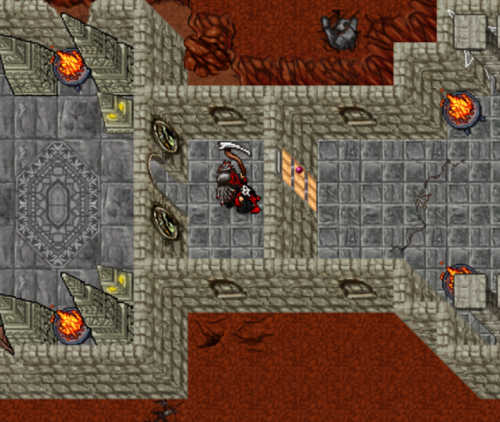
Before leaving the room you will have to step on the ancient artifact in the middle of the room.
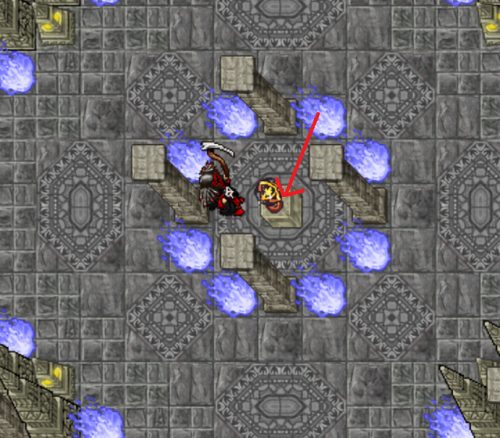
If you stepped on the ancient artifact you will have access through this magic door.
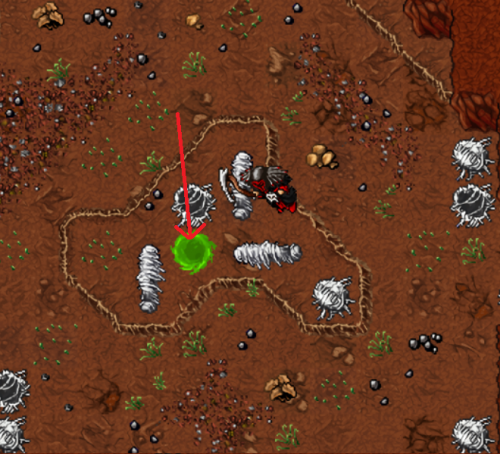
When you get to this part of the cave, you will have to step on the green vortex.
Stepping on it will spawn a few Venomous Spiders and block the way you can from.
Killing all the monsters will spawn a ladder to escape.
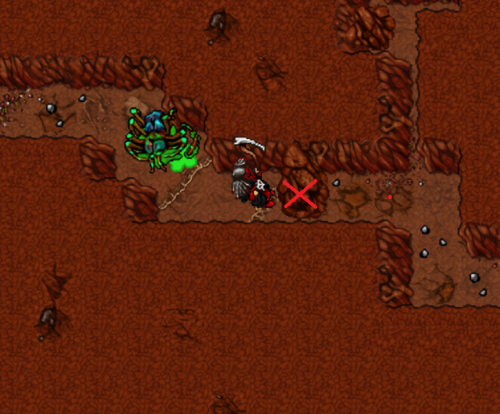
When you find this part of the cave, loot he webbed human.
Inside you will find a Morning Star wich will be needed further ahead.

Use the Morning Star on this rock the break it.
When you get to this room, loot the pirate bag and you will find an empty vial

Use the vial on the blood container to fill it up, then use it on the dried fountain to gain access through the next magic door.

Entering this teleport will spawn the third boss Lyanna Nightshade.

Loot the drawer and you will find Rat's Bane Brew then use the torch to remove the wall.
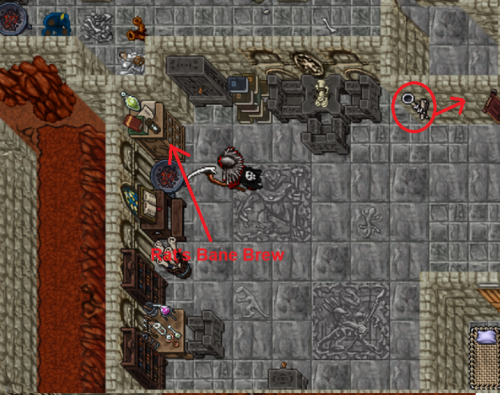
Here you will have to pull the first lever to get access to the second lever.

Now you have use the Rat's Bane Brew on yourself to become a Rat.
Once you have transformed you can slip through the walls by clicking on it.
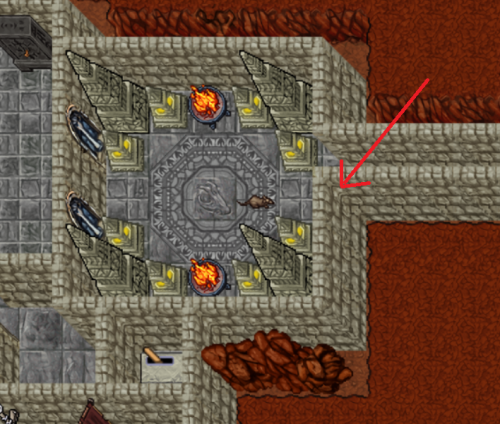
In this room you will have to make all the statues face the middle of the room.
Rotate a statue by pulling a lever, the statues rotate clockwise.
Each time a lever is pulled monsters will spawn.
When all the statues faces the center of the room, a teleport will spawn.
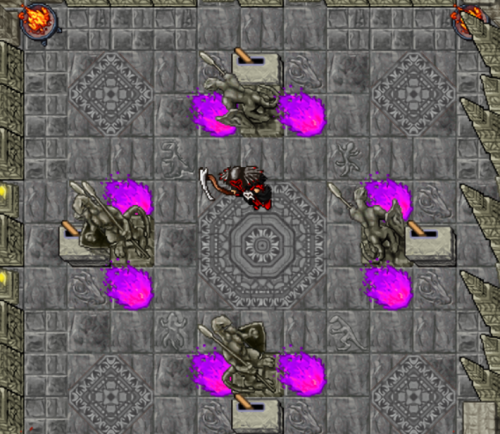
Here you will get your fourth and last checkpoint in the quest.
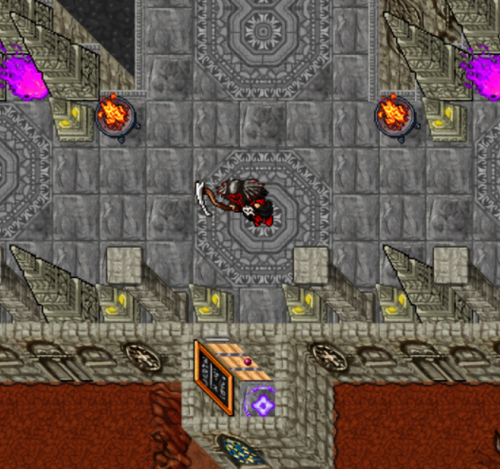
To remove this wall, both statues on the sides need to be killed.
On the other side of the wall you will find a teleport that takes you to the final boss Cursed Malakai.

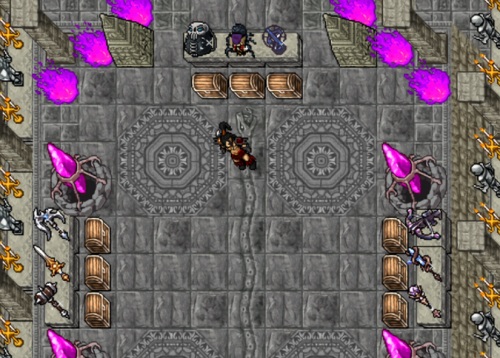
Claiming the Reward
Once Cursed Malakai is defeated, step into the reward room and claim your rewards from the chests.
Don't forget to speak to The Old Wanderer after completing the quest.
Strategy Tips
- Use area spells and runes to maximize damage.
- Coordinate with your team to distribute healing and attacks evenly.
- Be prepared with escape plans in case the battle turns against you.
