All For One And One For All Quest
| All For One And One For All Quest | |
|---|---|
 | |
| Entrance to All For One And One For All Quest | |
| Location | Very far north in Rissne |
| Level | 200 |
| Dangers | Coruscant Beetle, Mummified Guardian, Sandsting Scorpion, Morvane the Nightshroud, Thraxys the Coldhearted, Zorvath the Shadowweaver and Golden Gildrake. |
| Reward | One of four unique items: Knight Rebirth Legs, Paladin Rebirth Legs, Sorcerer Rebirth Legs, Druid Rebirth Legs |
Legends
In ancient times, when the world was still young and magic flowed unbound, there existed a majestic creature known as the Gildrake, a fusion of dragon and gold. Heralded as a guardian of prosperity and wisdom, the Gildrake was said to bless the lands with overflowing bounty and harmony. With shimmering golden scales that gleamed like the sun, it was both revered and feared symbol of both wealth and the great power of nature.
However, as ages passed, greed took root in the hearts of humankind. Rissne, once a thriving kingdom blessed by the Gildrake, began to crumble under the weight of tyranny and avarice. Desperate to harness the creature’s power, the rulers of Rissne sought to bind the Gildrake to their will, using dark magic and sinister rituals. But the Golden Gildrake, a being of pure majesty and ancient wisdom, sensed the encroaching darkness, its heart grew heavy with fear and resentment. To escape the clutches of tyranny, the Golden Gildrake retreated. Fleeing to the depths of the ancient forgotten tombs, it vanished into the shadows, never to be seen again...
Location
Very far north in Rissne
Dangers
On the way to the Quest you will face monsters such as Wailing Widow, Stone Golem, Cliff Strider, Dragonling, Warlock and Infernalist. The quest only involves Coruscant Beetle, Mummified Guardian, Sandsting Scorpion, Morvane the Nightshroud, Thraxys the Coldhearted, Zorvath the Shadowweaver and Golden Gildrake.
Rewards
One out of four available items:
And:
- 5,000,000 Experience Points
- Jewelled Backpack
- 400 Magical Dusts
- 200 Grimhaven Tokens
- 2 Gold Nuggets
- Dawnbringer Guardian Doll (mount)
Overview
The All For One And One For All Quest is a high-level quest in Tibia, designed for a big team of players, each at least level 200. The quest is notorious for its difficulty and is considered a rite of passage for top-level players seeking to earn exclusive rewards.
Requirements
- Minimum level of 200.
- 4 players
- Luminax Stone
- Celestine Stone
- Glaciemus Stone
- Iridiumite Stone
- Brown Hand
- White Hand
- Yellow Hand
Preparation
Prepare by bringing alot of supplies and a good team. High-level healing runes and potions are essential.
Walkthrough
Getting There
Start by heading to Rissne, then head very far north, past the football fields until you find a small ritual place with 2 Warlock and 2 Infernalist.
Just east of there you will find a stone blocking the path, the lever can be found behind the tree, you will have to walk around to pull it.

Once the stone is removed you will find the entrance to the quest.

When first entering the teleport you will find this room, here you will need the Luminax Stone, Celestine Stone, Glaciemus Stone, Iridiumite Stone.
The vocation of the players doesn't matter, just needs to be 4 players.
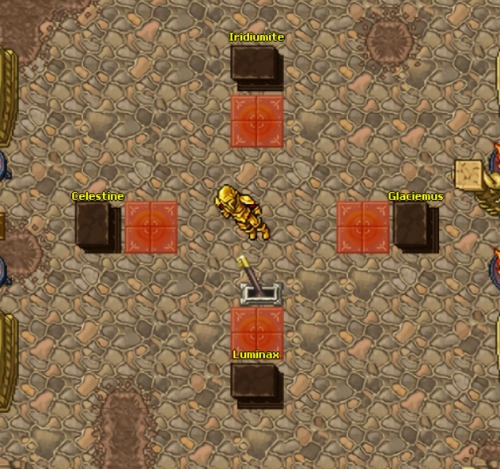
Inside each one of the teleports a stone can be found, any player can get any stone.
Each room has different monsters: Corrupted Knight, Corrupted Paladin, Corrupted Sorcerer, Corrupted Druid.
Only one player can enter each teleport.

Once all the stones are collected and you pull the lever you will spawn in this room.
You will face 2 Mummified Guardian, 2 Sandsting Scorpion and 2 Coruscant Beetle.

When you reach this part of the quest, you will have to choose 1 member of the team to stay behind.
Only when a player stands on the glowing tile will the gate disappear.
Once the rest of the party members has made it through they will find a glowing tile on the other side of the gate to help the person who was left behind.
This pattern will repeat 2 more times continuing the quest.
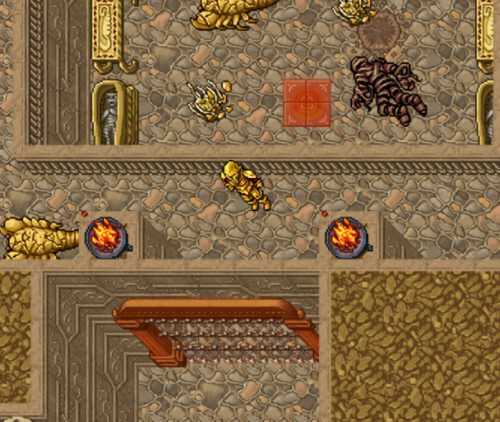
Walking on the glowing tile will spawn 3 Mummified Guardian, 2 Coruscant Beetle and 1 Sandsting Scorpion, when killed the gate will be removed.
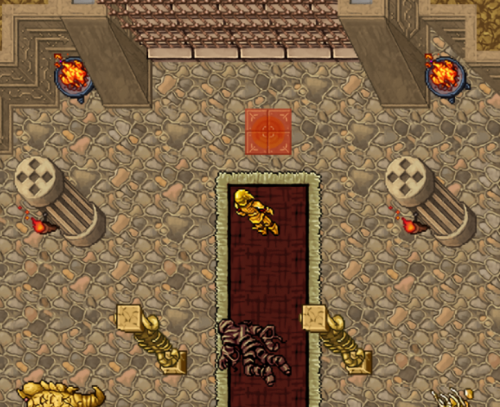
In this room, each teleport will spawn a boss: Morvane the Nightshroud, Thraxys the Coldhearted, Zorvath the Shadowweaver.
Each boss will drop an item: Brown Hand, Yellow Hand, White Hand, wich is needed in the room below.
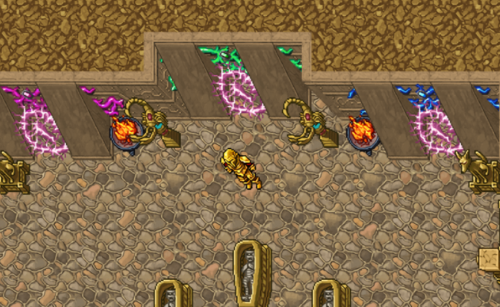
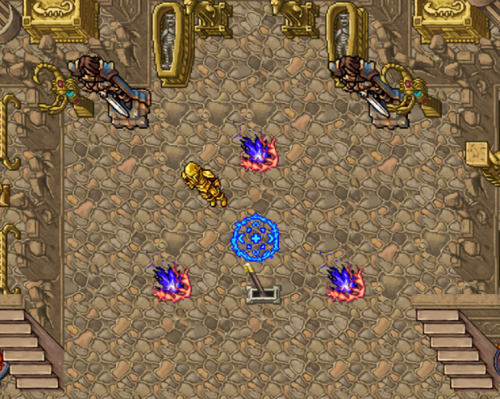
Once the bosses are defeated and all hands collected, place them in circular pattern and pull the lever to form united hands.
Doing this will spawn a teleport, that will lead to the final boss Golden Gildrake.
Claiming the Reward
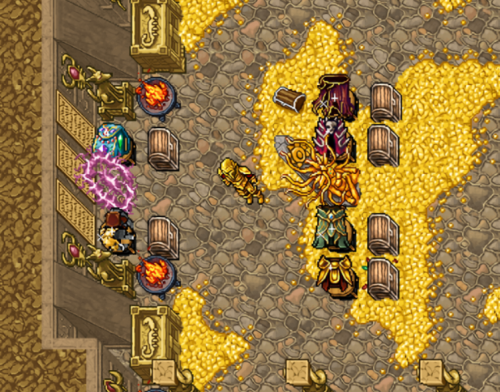
Once Golden Gildrake is defeated, step into the reward room and claim your reward from the chests.
Strategy Tips
- Use area spells and runes to maximize damage.
- Coordinate with your team to distribute healing and attacks evenly.
- Be prepared with escape plans in case the battle turns against you.